- Published on
How to get an OmniStudio Trial Org
- Authors

- Name
- Tony Geiser
Getting Started with OmniStudio
While a dedicated OmniStudio trial org is not currently available, you can still access OmniStudio features through a Public Sector Solutions trial org here . This guide will walk you through the process of signing up for a Public Sector Solutions trial and explain how to access OmniStudio tools within that environment.
Be sure to read, 'Next Steps' to ensure your OmniStudio tools work the way you expect.
Bonus
A major advantage of using the Public Sector Solutions trial org is that it comes preloaded with many preconfigured OmniScripts, Integration Procedures, FlexCards, and Data Mappers. These prebuilt components allow you to explore and learn from existing configurations, accelerating your understanding of OmniStudio’s capabilities.
Step 1: Access the Trial Signup Page
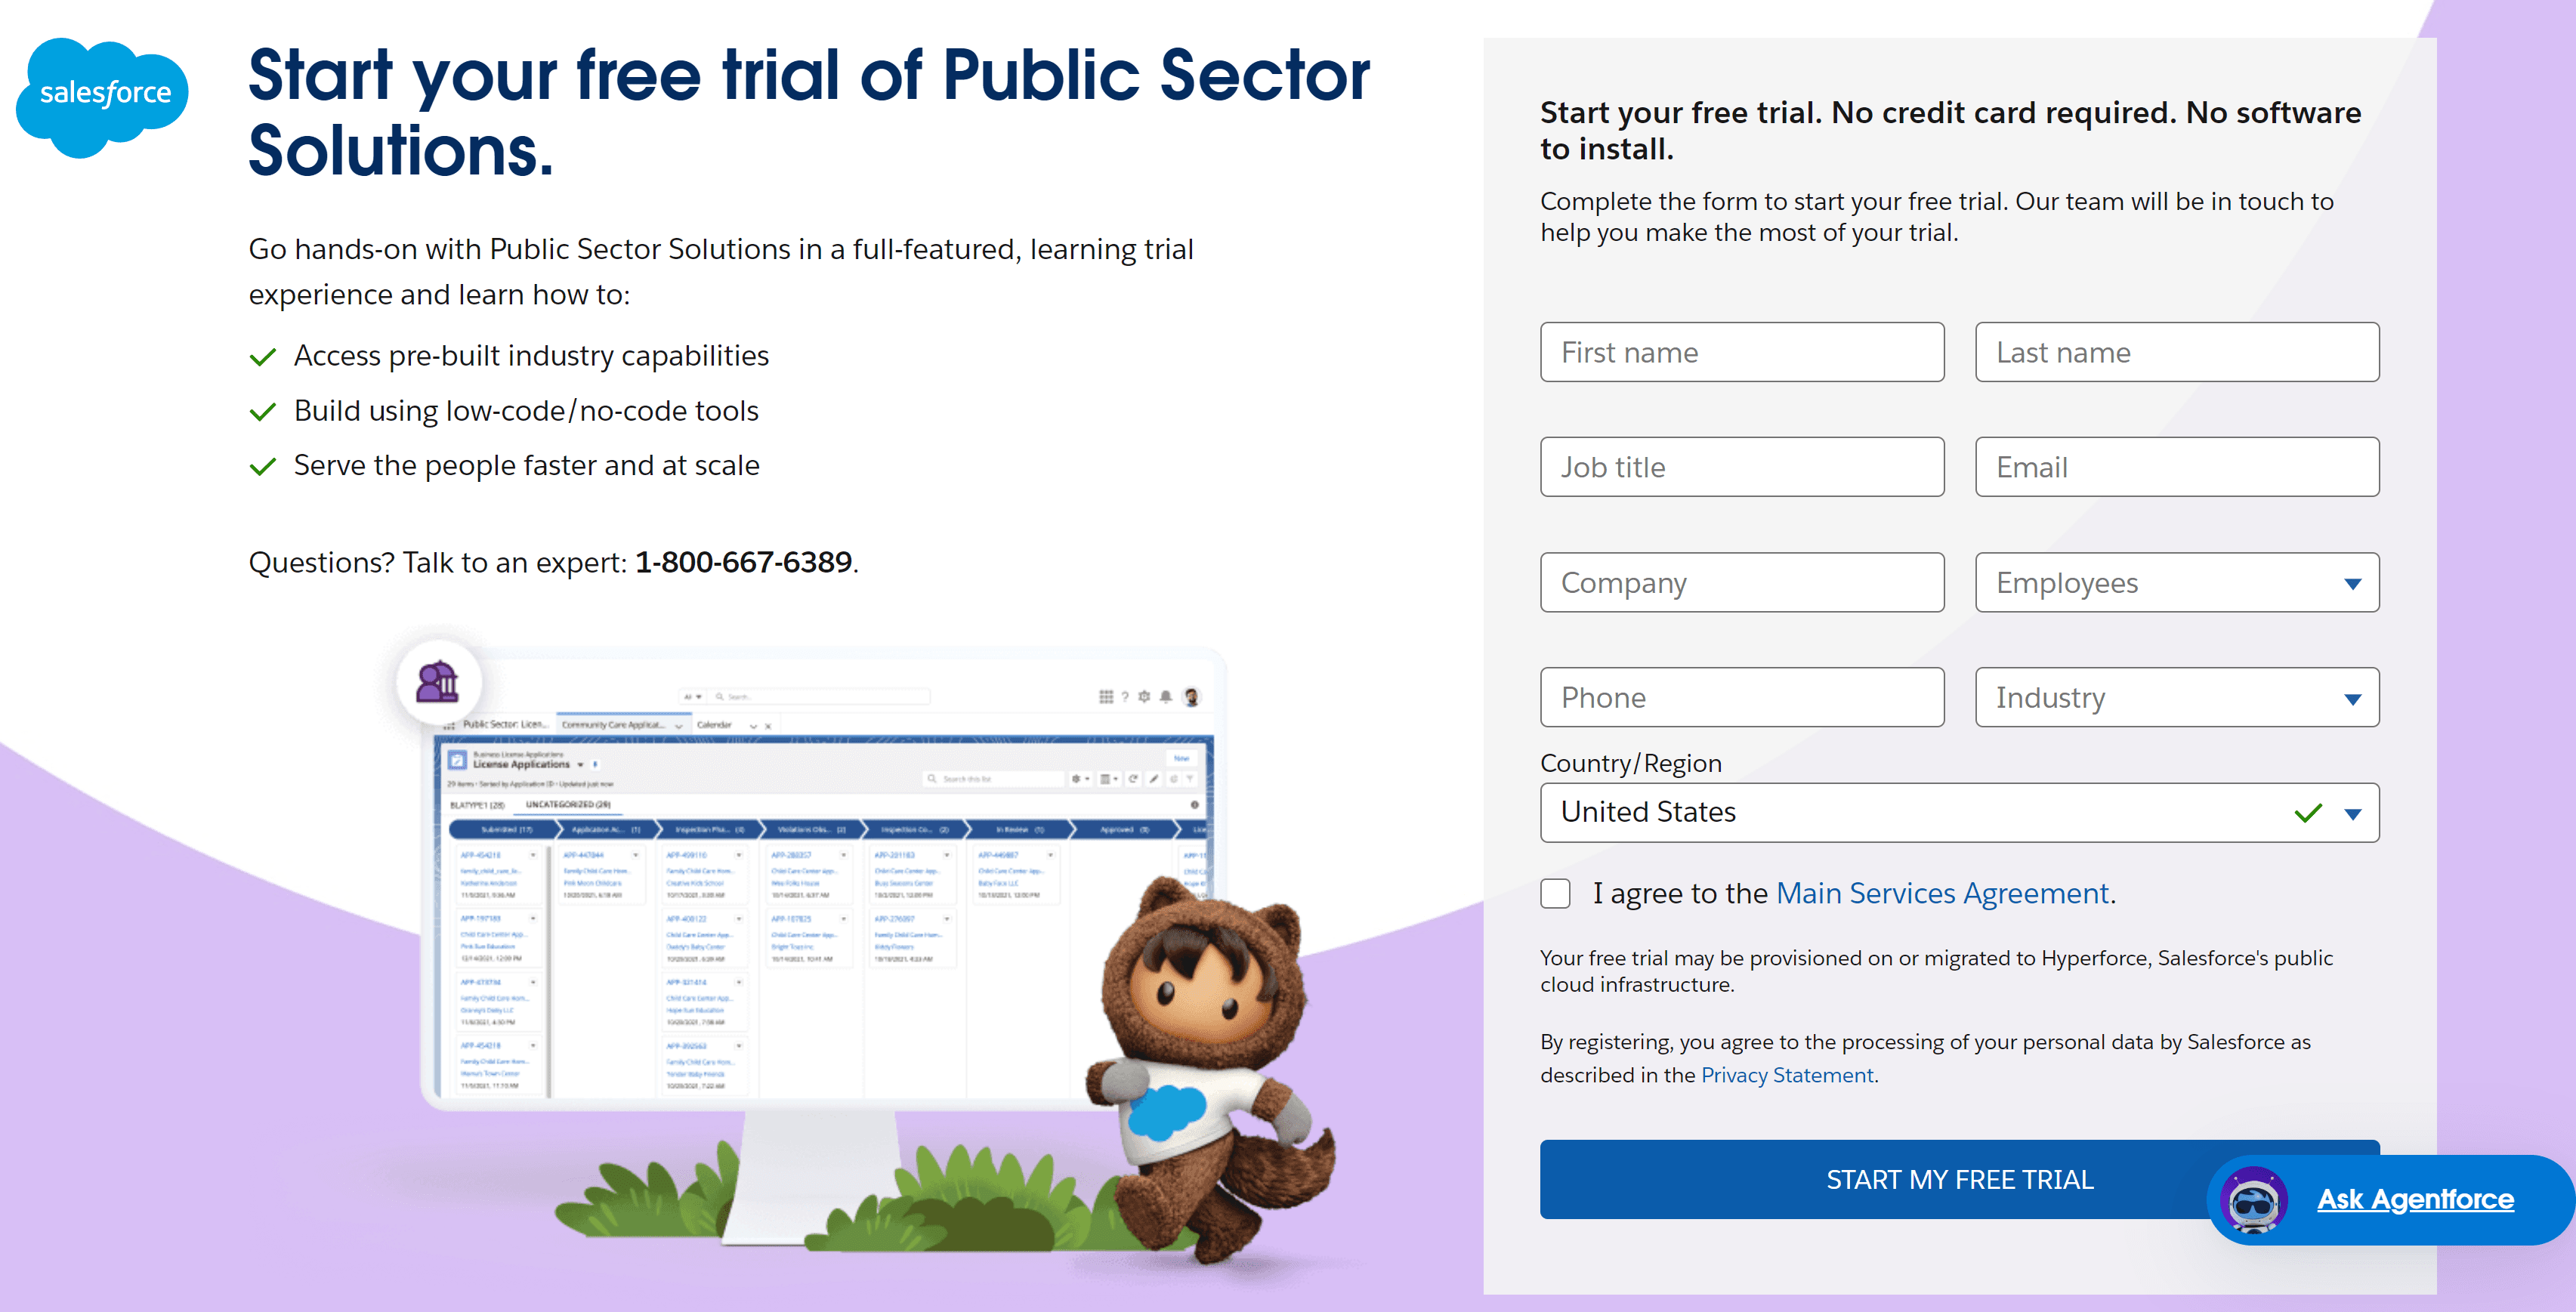
To begin, navigate to the official Salesforce Public Sector Solutions trial signup page. Here’s the direct link to the page:
Salesforce Public Sector Solutions Trial Signup
Once you’re on the page, you’ll see a form requesting your details.
Step 2: Complete the Signup Form
The form will ask for several key pieces of information. Here’s a breakdown of the required fields:
- First Name
- Last Name
- Job Title
- Email Address: Use your professional email address. Salesforce may require a business email rather than a generic one like Gmail or Yahoo.
- Company Name: Enter the name of your organization, agency, or government entity.
- Phone Number: Provide a real contact number where you can be reached.
- Country/Region
- State/Province
Note: Give your real phone number in this form. Salesforce may delete your org if they can't contact you.
They will contact you. Answer the phone.
Be courteous to the caller. Explain that you're learning OmniStudio and not a potential buyer. These people are just doing their jobs. It's the right thing to do. And, you've just made a contact inside Salesforce.😊

Step 3: Accept Terms and Conditions
At the bottom of the form, you may see an option to agree to Salesforce’s terms of service and privacy policy. Check the box to confirm your acceptance of these terms.
Additionally, there may be an option to opt-in for email updates, news, and special offers from Salesforce. This is optional but may be beneficial if you’d like to stay updated on product developments.
Step 4: Submit the Form
Once all the fields are completed and the necessary checkboxes are selected, click the "Submit" button. After submitting the form, you’ll typically see a confirmation message indicating that your trial request has been received.
Step 5: Wait for a Response
After submitting your request, you’ll receive an email from Salesforce. This email may contain additional instructions on how to access your trial environment, along with login credentials and useful resources to get started.
Be sure to check your spam or junk folder if you don’t see an email within a few minutes. If you encounter any issues or delays, you can reach out to Salesforce support for assistance.
Step 6: Access the Trial and Explore Features
Once your access is granted, you’ll be able to log in and explore the full range of Salesforce’s Public Sector Solutions. Within this environment, you’ll also have access to OmniStudio’s features. These features may include:
- Case Management: Track, manage, and resolve constituent cases.
- Service Delivery: Streamline workflows for faster service delivery.
- OmniStudio Tools: Leverage tools like FlexCards, OmniScripts, and Integration Procedures.
- Analytics and Insights: Gain insights into operational efficiency and engagement metrics.
Use this opportunity to familiarize yourself with the interface, test its features, and evaluate how the solution fits your organization’s needs.
Troubleshooting and Tips
- Email Issues: If you don't receive the confirmation email, double-check the email address you provided.
- Form Errors: If the form isn’t submitting, ensure all required fields are completed and formatted correctly.
- Contact Support: For technical issues, reach out to Salesforce’s support team or use the contact information provided on the signup page.
Next Steps: Configure Remote Site Settings
Remote Site Settings allow Salesforce to securely access external APIs or web services.
When creating FlexCards you may encounter this error:
Urls needed for LWC not added to Remote Site Settings...

To resolve this error, add these URLs to your trial org's Remote Site Settings as follows:
- Navigate: Go to Setup > search for Remote Site Settings.
- New Remote Site: Click New Remote Site.
- Enter Details: Provide a Site Name and the URL found in the FlexCard error.
- Save: Click Save to add the URL to the Remote Site Settings.
- Repeat for each URL called out in the error.